Oil stains can quickly turn your favorite garments, kitchen counters, or upholstery into a frustrating eyesore. Whether you’re dealing with a recent spill or a set-in mark, effective oil stain removal can make a world of difference. In this guide, you’ll learn practical, step-by-step methods to remove oil stains from various surfaces ensuring that no spill is too tough to handle.
Table of Contents
Understanding Oil Stains and Why They’re Hard to Remove
Before diving into solutions, it’s important to understand what makes oil stains so stubborn.
- Hydrophobic Nature:
Oil does not mix with water, which means water-based cleaners often struggle to break it down. - Absorption:
Porous materials, like fabric or unsealed wood, instantly soak up oil, making the stain harder to lift. - Heat Activation:
When oil is exposed to heat (from ironing or prolonged drying), it bonds further with the surface, setting the stain permanently.
Knowing these factors helps you choose the right approach for effective oil stain removal.
Quick Fixes for Fresh Oil Stains
Addressing oil stains immediately increases your chances of a successful clean-up. Follow these quick steps as soon as you spot the stain:

Immediate Action Steps
- Blot, Don’t Rub:
Gently blot the stain with a clean paper towel or cloth. Rubbing can force the oil deeper into the fibers. - Dust with an Absorbent Powder:
Sprinkle baking soda, cornstarch, or baby powder onto the stain. Let it sit for 10–15 minutes to absorb the oil. - Brush Off the Powder:
After the waiting period, gently brush away the powder. You should notice the oil lifting from the surface. - Pre-Treat with Dish Soap:
Apply a few drops of dishwashing liquid directly onto the spot. Dish soap is formulated to break down grease gently work it into the stain with your fingers or a soft brush. - Rinse with Warm Water:
Rinse the area under warm running water to remove any remaining soap and oil. For fabrics, rinse thoroughly; for hard surfaces, use a damp cloth to wipe it clean.
These simple steps can significantly diminish fresh oil stains, making it easier to restore your item to its former glory.
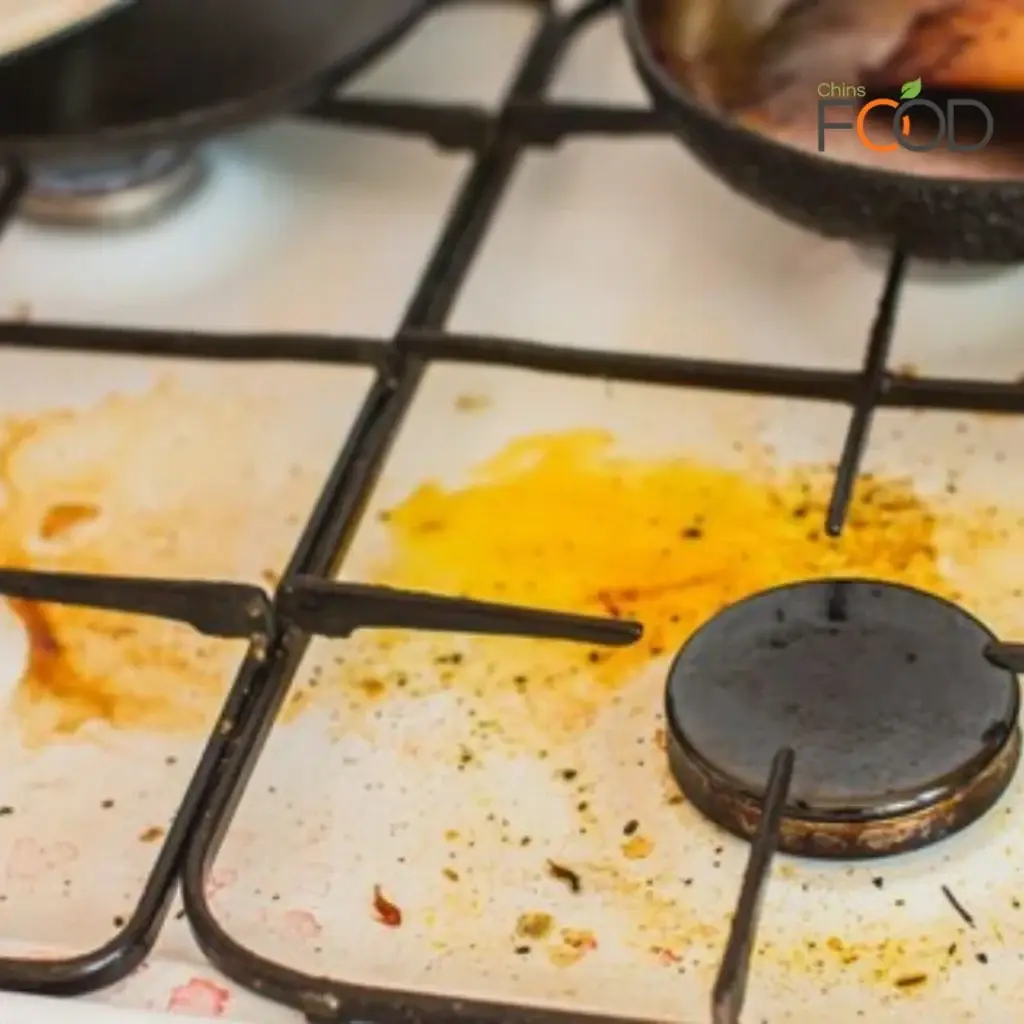
Deep Cleaning for Set-In Oil Stains
When oil stains have had time to set, they require a more thorough treatment.
For Clothes and Fabrics
- Pre-Soak:
Fill a basin with warm water and add a generous squirt of dish soap. Soak the stained fabric for 30–60 minutes. This helps to loosen the well-bound oil. - Gently Agitate:
Using a soft-bristled brush or your fingers, gently scrub the stain to encourage the soap to break down the oil. - Machine Wash:
Launder the item as usual, following the care label’s instructions. Always check the stain before using a dryer; if any oil remains, repeat the treatment, as heat can set the stain permanently.
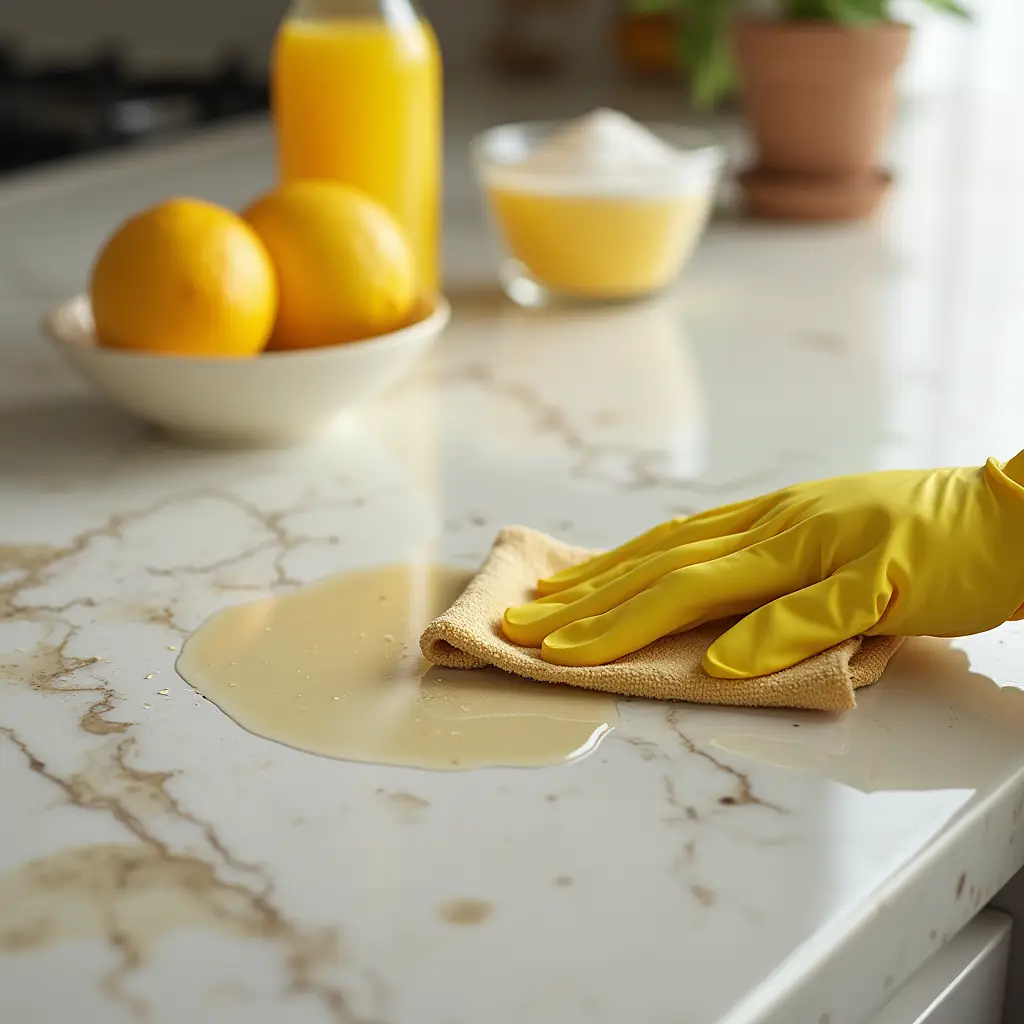
For Hard Surfaces and Countertops
- Mix a Cleaning Solution:
Combine warm water with a few drops of dish soap in a spray bottle or bucket. - Wipe Down:
Use a soft cloth or sponge to apply the solution to the stained area. Let it sit for a few minutes on tough spots before scrubbing gently. - Rinse and Dry:
Remove any soap residue with a clean, damp cloth, and dry the area with a microfiber towel to avoid water streaks.
Natural Alternatives for Oil Stain Removal
If you prefer eco-friendly or chemical-free methods, consider these natural remedies:
- White Vinegar Solution:
Mix equal parts white vinegar and water in a spray bottle, apply it to the stain, let it sit for several minutes, and then gently blot with a clean cloth. - Lemon Juice:
Lemon juice not only cuts through grease but also leaves a fresh scent. Apply it directly to the stain and follow up with a rinse under warm water. - Baking Soda and Vinegar Combo:
For tougher stains on durable fabrics, sprinkle baking soda on the stain first and then apply a few drops of vinegar. The fizzing reaction helps lift the oil before you blot it away.
These natural options are effective and can be gentler on sensitive materials.
Preventing Future Oil Stains
Taking proactive measures can reduce the likelihood of oil stains in the future. Consider these preventive tips:
- Use Splatter Guards:
When frying or cooking with a lot of oil, use splatter guards to minimize spills. - Quick Clean-Up:
Address spills immediately before the oil has a chance to set in. - Cover Surfaces:
Use protective mats or liners on countertops and tables, especially in high-traffic kitchen areas. - Keep Cleaning Supplies Handy:
Store dish soap, baking soda, and absorbent powders in your kitchen for quick access when accidents occur.
These habits will help keep your surfaces and fabrics in better condition, reducing the frequency of deep cleaning sessions.
Frequently Asked Questions About Oil Stain Removal
Q: How effective is dish soap in removing oil stains?
A: Dish soap is formulated to break down grease, making it one of the most effective products for oil stain removal when used promptly and correctly.
Q: Can I use natural remedies for all types of oil stains?
A: Natural remedies such as white vinegar and lemon juice work well on many surfaces, but for stubborn stains on delicate fabrics, you might need to combine both natural and commercial methods.
Q: What should I do if the stain sets after washing?
A: If an oil stain remains after washing, avoid using a dryer, as heat can set the stain permanently. Instead, repeat the pre-treatment and air-dry the garment.
Conclusion and Call-to-Action
Now that you have these proven strategies for oil stain removal, you can confidently tackle any spill whether it’s on your clothing, kitchen surfaces, or other materials. By acting quickly on fresh stains and using the appropriate deep-cleaning techniques for set-in marks, you’ll keep your everything looking their best. Don’t let stubborn oil stains ruin your day!
Take action today: Equip your cleaning kit with the right supplies and keep this guide handy for immediate reference. If you found these tips helpful, share this article with friends and family, and subscribe to our newsletter for more smart cleaning solutions that keep your home pristine.