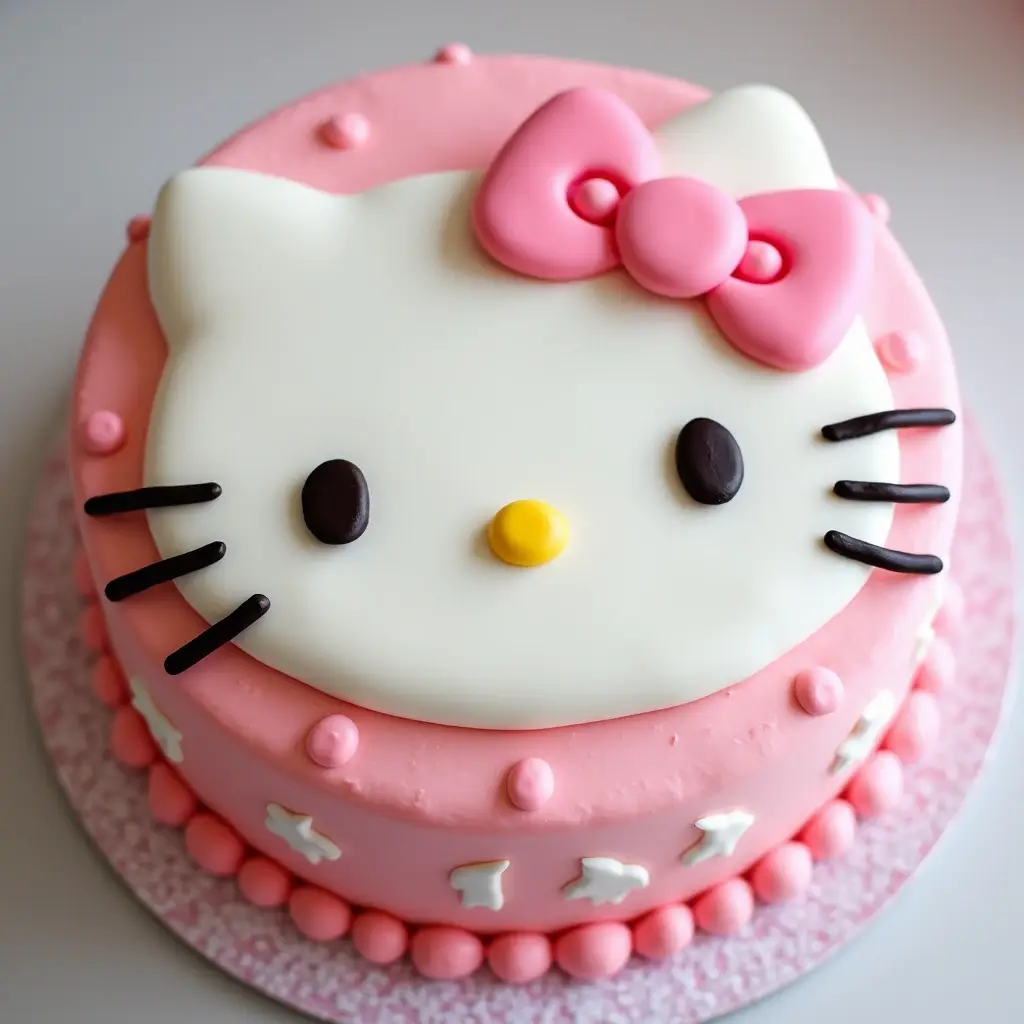
When you reminisce about the gentle charm of your childhood or the delight of celebrating those quirky moments that make life special imagine bringing those memories to life through a dessert that’s as adorable and heartwarming as it is delicious. A Hello Kitty cake isn’t just another dessert; it’s an edible work of art that brings nostalgia, creativity, and a touch of whimsy to your celebrations. In this guide, you’ll learn how to craft an enchanting Hello Kitty cake from scratch, perfect for birthdays, tea parties, or simply an afternoon treat that sparks joy.
Table of Contents
Gathering Supplies and Ingredients: Your Hello Kitty Cake Checklist
Before you dive into the creative process, it’s essential that you collect all the necessary tools and ingredients. This ensures that every step of the journey is smooth and stress-free.
Essential Kitchen Tools and Decorations
- Tools You Need:
- Cake pans (round or heart-shaped for an extra charming presentation)
- Mixing bowls, spatula, measuring cups, and spoons
- Piping bags and decorating tips for detailed work
- An offset spatula for a beautifully smooth frosting finish
- Decorative Elements:
- Edible food colors (think pastel pinks and soft reds)
- Fondant or pre-made edible toppers featuring iconic Hello Kitty details
- Sprinkles, edible glitter, or other embellishments to add that final wow factor
Detailed Recipe Ingredients Table
Below is a handy table outlining the core ingredients for your cake base and decorative elements:
| Ingredient | Quantity | Preparation/Notes |
|---|---|---|
| All-Purpose Flour | 2 ½ cups | Sifted for a lighter texture |
| Granulated Sugar | 2 cups | |
| Baking Powder | 2 ½ teaspoons | |
| Unsalted Butter | 1 cup | Softened |
| Eggs | 4 | Large, at room temperature |
| Milk | 1 cup | Whole milk for richness |
| Vanilla Extract | 2 teaspoons | |
| Food Coloring (optional) | As needed | Adjust to match your Hello Kitty color scheme |
| Fondant | 1-2 blocks | For crafting the Hello Kitty face details |
| Edible Decorations | To taste | For additional decorative flair |
Tip: Tailor these amounts according to your desired cake size and the number of layers you wish to create.
Step-by-Step Instructions for Creating Your Hello Kitty Cake
Transforming your kitchen into a creative studio is easier than you think when you follow these clear, concise instructions.
1. Baking the Cake Layers
Preheat and Prep
- Preheat your oven to 350°F (175°C).
- Grease your cake pans and line them with parchment paper to ensure a smooth release.
Mix the Batter
- Dry Ingredients: In a large bowl, combine the sifted flour, sugar, and baking powder.
- Wet Ingredients: In another bowl, blend the softened butter, eggs, milk, and vanilla extract.
- Gently fold the wet ingredients into the dry mixture until the batter is silky and lump-free.
Bake to Perfection
- Evenly pour the batter into your prepared pans.
- Bake in your preheated oven for approximately 25-30 minutes. Test doneness by inserting a toothpick; it should come out clean.
- Allow the cake layers to cool completely on a wire rack before you start decorating.
2. Assembling Your Cake
Creating a Flawless Foundation
- Layering: Use a knife or a cake leveler to ensure each cake layer is even.
- Moisture Boost: Spread a thin layer of your chosen frosting between the layers to maintain moistness.
- Crumb Coating: Apply a light coating of frosting over the entire assembled cake and chill for about 20 minutes before the final decorative layer.
3. Decorating with a Hello Kitty Theme
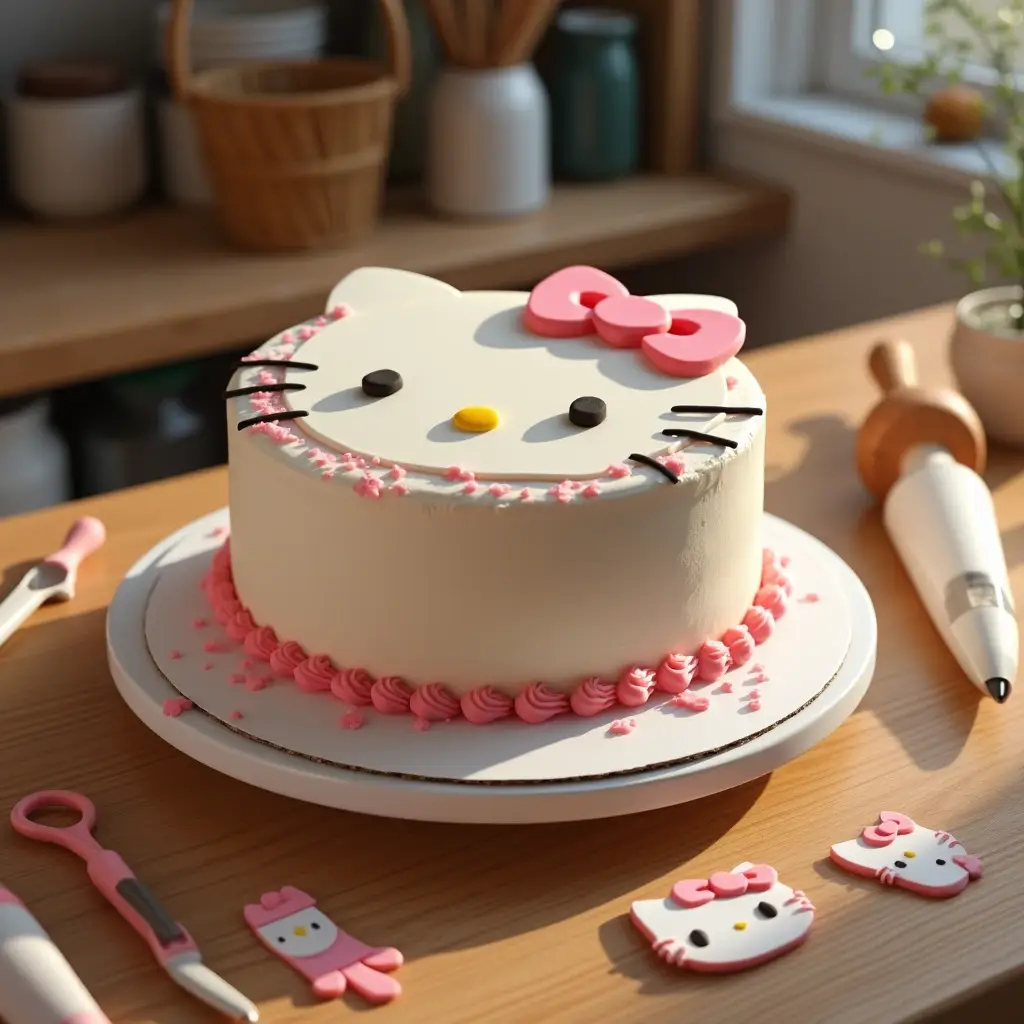
Frosting Your Cake
- Smooth Base: Use a rich buttercream to create a smooth, even surface for decoration.
- If desired, tint your frosting with subtle hues that complement the iconic Hello Kitty palette.
Craft the Hello Kitty Look

- Fondant Magic: Roll out fondant and carefully cut out features like eyes, whiskers, and the signature bow.
- Detail Work: Use piping bags to add delicate details that capture Hello Kitty’s friendly expression.
- Final Flourishes: Enhance your design with sprinkles, glitter, or even a hand-drawn edible picture to complete the transformation.
Pro Tips for Perfecting Your Hello Kitty Cake
Even the most straightforward recipes can benefit from a few professional insights:
- Troubleshooting Tips:
- Uneven Layers: Ensure you level each cake layer with a serrated knife before stacking.
- Frosting Challenges: Start with a crumb coat to prevent streaks and ridges.
- Expert Recommendations:
- Employ a cake turntable for a smooth, even frost.
- Keep your working area cool to prevent the fondant from becoming too soft.
- Expert Data:
Reference popular culinary blogs and professional baker tutorials to reinforce these tips and techniques with data-backed baking science.
Frequently Asked Questions About Hello Kitty Cake
Q1: What if I can’t find fondant for decorating?
A1: You can achieve similar results with pre-made edible toppers or by using icing paints to replicate Hello Kitty’s features.
Q2: Can you make a gluten-free Hello Kitty cake?
A2: Absolutely! Substitute all-purpose flour with a high-quality gluten-free blend—just remember to adjust the liquids slightly to maintain the right consistency.
Q3: How do you ensure the cake remains moist?
A3: Incorporate simple syrup between layers and take care not to overbake. This will lock in moisture and enhance the cake’s texture.
Q4: What’s the best way to store my Hello Kitty cake?
A4: Store the cake in an airtight container at room temperature for up to 2 days, or refrigerate for longer periods. Allow the cake to return to room temperature before serving for optimal flavor and texture.
Conclusion: Unleash Your Creativity with a Homemade Hello Kitty Cake
Crafting your own Hello Kitty cake is more than just a baking project—it’s a chance to rekindle cherished memories and bring a burst of joy to your table. You now have a comprehensive guide that takes you through every step of the creative process, from gathering the ingredients and tools to mastering the art of decoration. Every slice of this delightful cake will not only satisfy your sweet tooth but also serve as a testament to your creativity and passion for the art of baking.
Ready to start your adventure? Gather your ingredients, preheat the oven, and embark on a baking journey that promises both delicious flavor and heartwarming memories. And don’t forget, if you’re looking for even more dessert inspiration, check out the fantastic Chocolate Covered Cheesecake Bites recipe to continue your creative culinary adventure.
Have You Tried Our Recipes? Share Your Experience!
There are no reviews yet. Be the first one to write one.