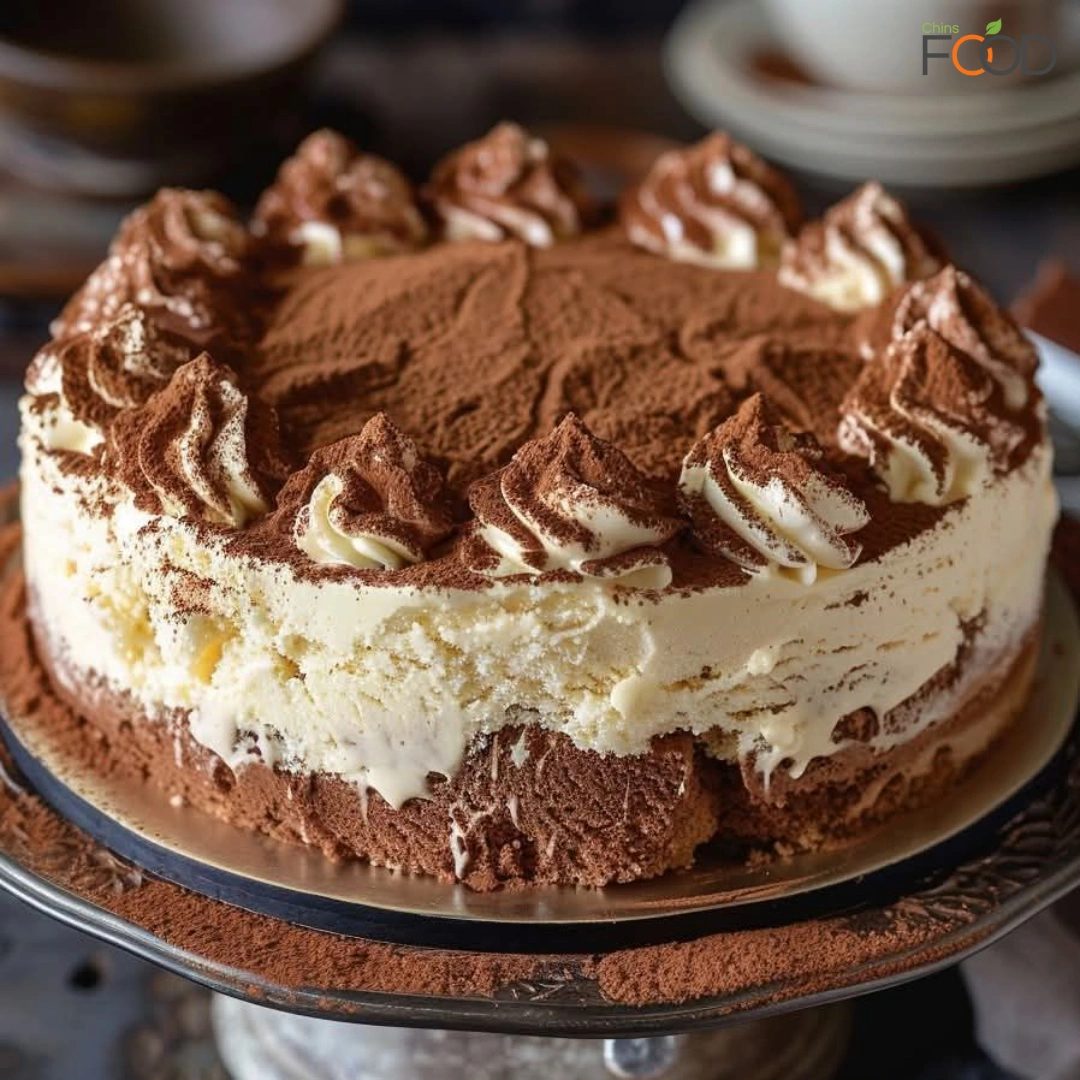
Looking for a dessert that’s as elegant as it is effortless? This Tiramisu Ice Cream Cake is your new favorite make-ahead indulgence. Combining the bold flavors of coffee, cocoa, and creamy layers, this frozen twist on the Italian classic is perfect for hot summer days, holiday parties, or anytime you crave a no-bake treat that wows.
Unlike traditional tiramisu, which requires layering mascarpone cream with espresso-soaked ladyfingers, this version simplifies the process using softened ice cream to mimic the rich, velvety textures we all love. The result? A luxurious Tiramisu Ice Cream Cake that delivers everything you adore about the original, with none of the baking or chilling drama.
Why You’ll Love This Tiramisu Ice Cream Cake
This Tiramisu Ice Cream Cake hits all the right notes flavorful, creamy, cool, and easy. It’s layered with coffee and vanilla (or mascarpone-flavored) ice creams, coffee-soaked ladyfingers, and topped with cocoa and optional chocolate chips. It’s not only a delight to eat but also to make.
Plus, this dessert is completely customizable. Want a bolder coffee flavor? Add espresso powder or swap in espresso ice cream. Prefer a more kid-friendly version? Skip the liqueur entirely. However you build it, this frozen tiramisu variation always impresses.
Ingredients You’ll Need
| Ingredient | Quantity |
|---|---|
| Vanilla or mascarpone-flavored ice cream (softened) | 1 pint (2 cups) |
| Coffee ice cream (softened) | 1 pint (2 cups) |
| Ladyfinger cookies (savoiardi) | 20–24 pieces |
| Strong brewed coffee (cooled) | ½ cup |
| Coffee liqueur or espresso (optional) | 2 tbsp |
| Cocoa powder | 2 tbsp |
| Mini chocolate chips or shavings (optional) | ¼ cup |
| Whipped cream | For topping |
These simple ingredients come together to create a frozen masterpiece that holds its shape while offering all the signature tiramisu flavors you love.

How to Make Tiramisu Ice Cream Cake
Step 1: Prep the Coffee Soak
Start by combining the brewed coffee and coffee liqueur (if using) in a shallow bowl. Briefly dip each ladyfinger in the mixture. Don’t over-soak them just a quick dip on each side is enough to infuse flavor without turning them mushy.
Step 2: Assemble the Layers
Line a loaf pan or springform pan with parchment or plastic wrap, making sure there’s some overhang for easy removal later.
- Lay down your first layer of coffee-dipped ladyfingers.
- Spread the softened coffee ice cream evenly over the cookies.
- Add another layer of dipped ladyfingers.
- Top with the softened vanilla or mascarpone-flavored ice cream.
- Dust with cocoa powder and add chocolate chips or shavings, if using.
This layering mimics the original tiramisu structure while turning it into a frozen delight. Each bite of this Tiramisu Ice Cream Cake delivers bold coffee flavor, creamy richness, and satisfying texture.
Step 3: Freeze
Cover the pan tightly and freeze the cake for at least 4 hours overnight is even better. This allows the layers to firm up and makes slicing clean and simple.
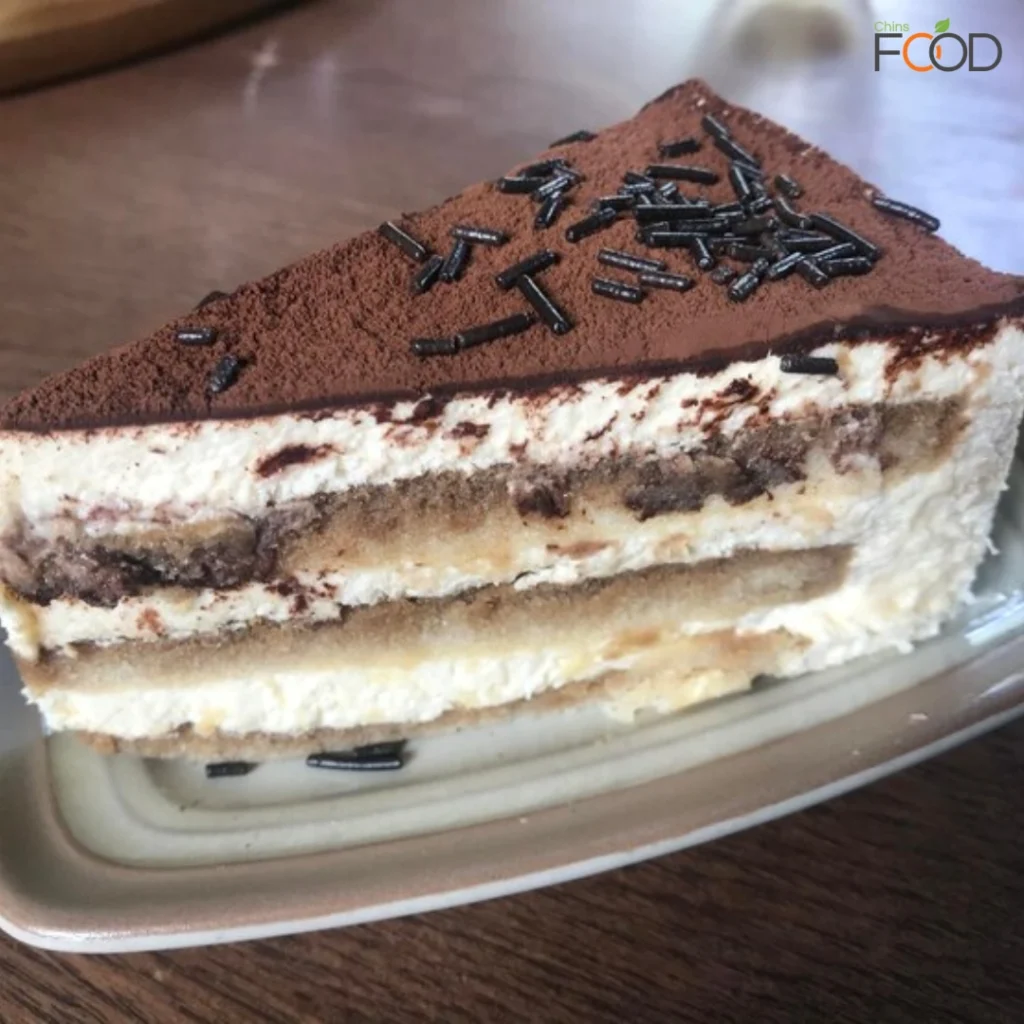
Serving Your Tiramisu Ice Cream Cake
When ready to serve, let the cake sit at room temperature for 10–15 minutes to soften slightly. Use the parchment overhang to lift it out, then slice with a hot knife (dip in hot water and wipe dry between cuts).
Top each slice with whipped cream, an extra dusting of cocoa powder, and a few chocolate shavings for that picture-perfect presentation.
Tips for the Best Tiramisu Ice Cream Cake
- Use quality ice cream. The flavor of the cake heavily depends on your base ice creams, so choose rich, creamy varieties.
- Don’t soak ladyfingers too long. A quick dip is enough to flavor them without turning soggy.
- Make it ahead. This cake keeps beautifully in the freezer for up to a week, making it ideal for events and entertaining.
- Customize the flavor. Add a swirl of chocolate syrup, layers of crushed cookies, or a sprinkle of cinnamon for a unique spin.

Variations to Try
The beauty of the Tiramisu Ice Cream Cake is how flexible it is. You can adapt it based on dietary needs, preferences, or special occasions.
- Vegan Version: Use plant-based ice creams and vegan ladyfingers.
- Boozy Boost: Add a shot of amaretto or Bailey’s for an adult version.
- Chocolate Twist: Use chocolate ice cream in place of coffee for a sweeter, kid-friendly dessert.
- Festive Flair: Mix in crushed peppermint or top with caramel drizzle during the holidays.
No matter which way you spin it, this Tiramisu Ice Cream Cake remains a showstopper.
Why Tiramisu Ice Cream Cake Deserves a Spot in Your Freezer
This dessert isn’t just a treat it’s a genius solution to summer sweets. It packs all the sophistication of tiramisu into a no-bake, freezer-friendly format. Whether you’re celebrating a birthday, hosting a dinner party, or just need a quick sweet fix, the Tiramisu Ice Cream Cake delivers every time.
And the best part? It looks impressive, tastes incredible, and requires minimal effort. That’s the magic of no-bake desserts they give you maximum flavor with very little time in the kitchen.
Final Thoughts
If you love classic tiramisu, this Tiramisu Ice Cream Cake is the cool upgrade you didn’t know you needed. From its espresso-soaked ladyfingers to its creamy frozen layers, every bite offers comfort, indulgence, and a little Italian flair.
Keep it in your freezer and you’ll always have a crowd-pleasing dessert ready to go. Simple to make, easy to serve, and endlessly customizable this is the no-bake recipe you’ll turn to again and again.